

Gluten Free Potstickers – Chicken Filling *adjusted by me for allergies and supplies
Ingredients:
2 chicken thighs, deboned, skinned and trimmed
3 garlic cloves
1 Tablespoon cornstarch
2 Tablespoons GF Soy Sauce (I used Bragg's Liquid Aminos)
1 Tablespoon sesame oil (or toasted sesame oil)
1/2 teaspoon salt
1/4 teaspoon white pepper
1/4 teaspoon ginger
2 stalks of green onions, finely chopped
1/2 cup chopped cilantro
Directions:
- If you can, it's easy to food process everything (Everything EXCEPT the green onion and cilantro) OR if you're me you have to chop and chop and chop. :)
- Stir in by hand cilantro and green onions.
- Set aside a make the potsticker wrappers.


Gluten Free Potsticker Wrappers
Ingredients:
1/2 cup cold water + 1/4 cup cold water (added tablespoon by tablespoon and more as needed)
*(1 egg hisked in to 1/2 cup cold water) I just used more water instead
1/2 teaspoon salt
1 cup brown rice flour
1/3 cup tapioca starch (and more for dusting)
1/3 cup corn starch
1/3 cup sweet rice flour (and more to avoid sticky dough-works really good)
1 teaspoon xanthan gum
1 teaspoon gelatin
Directions:
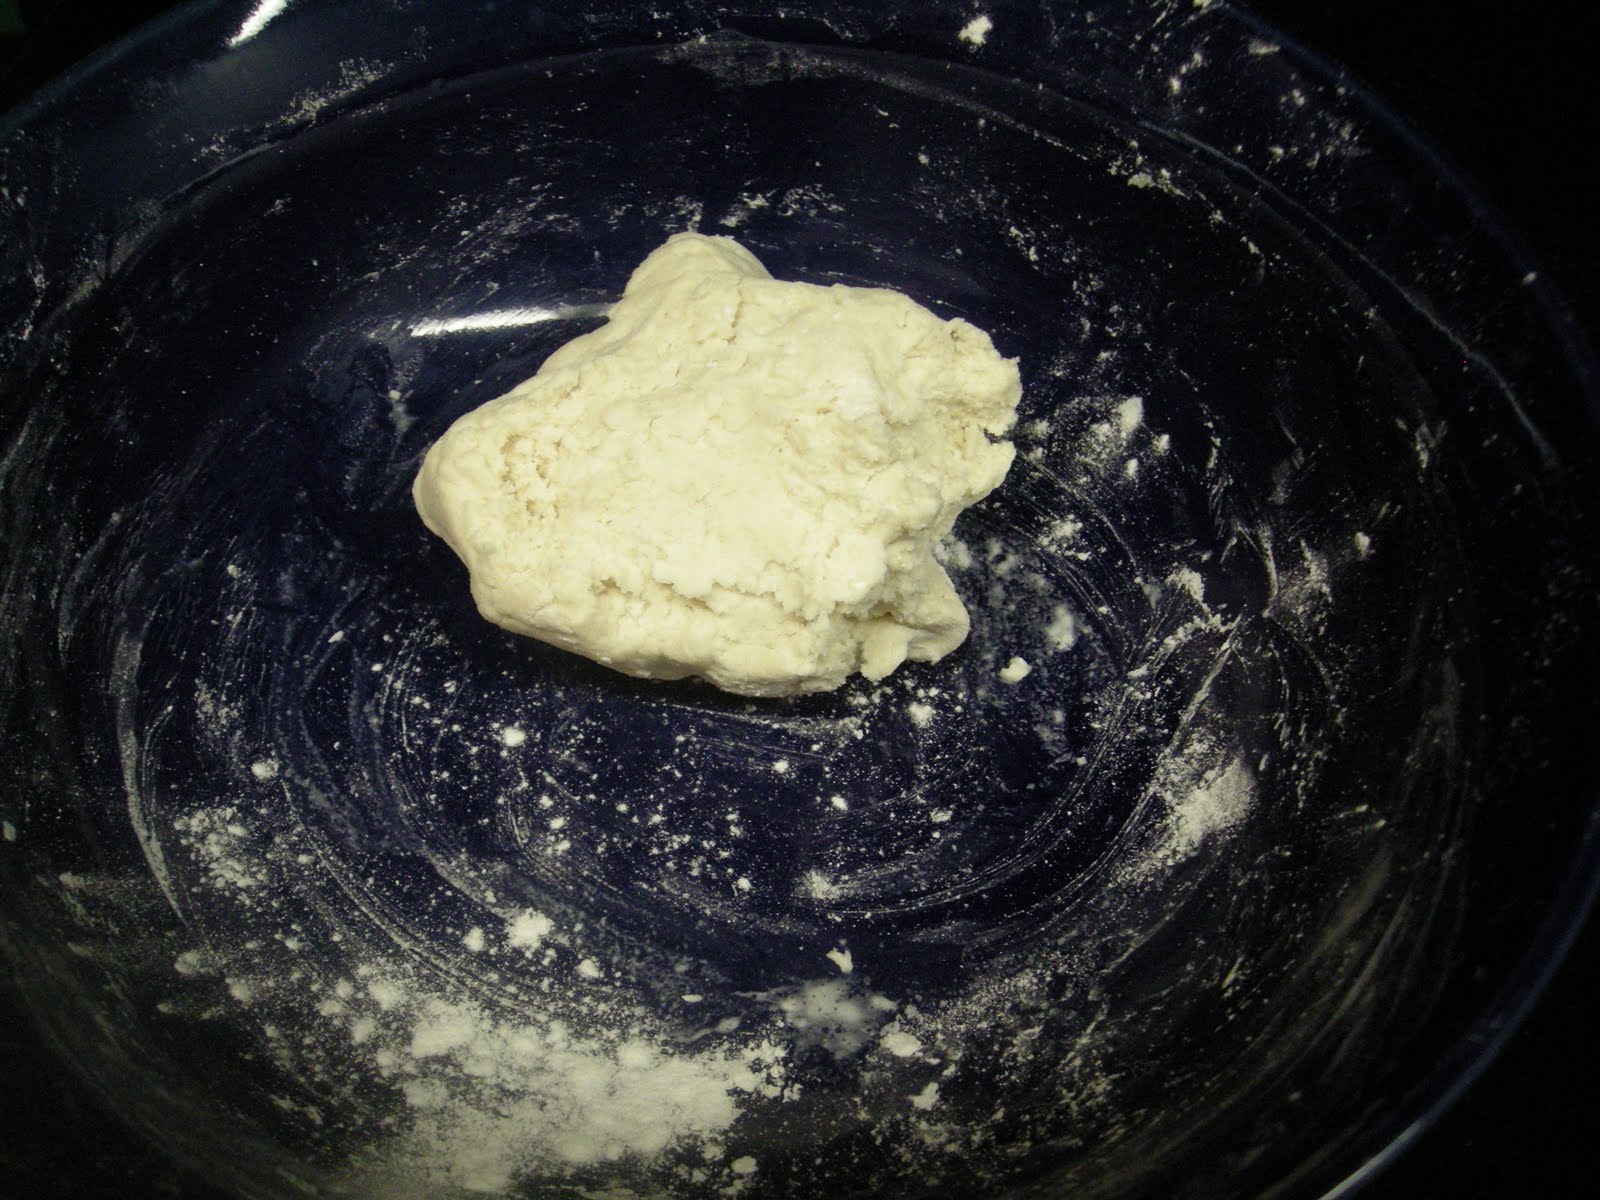
- Blend all of the dry ingredients together in the bowl of your food processor.
- Make a well in the flours and slowly add the water, mixing by hand.
- Roll out about 1/3 of the dough (keep the remaining dough under a damp paper towel) between two sheets of parchment paper if you have it. Or if you use me, a cutting board and rolling pin and a lot of sweet rice flour.
- Roll the dough to 1/8 of an inch. (No thinner than 1/16″ or the dough will rip while cooking.)
- Cut into 3.5″ wide circles (we used a martini glass).
- Cover prepared/cut wrappers with a damp paper towel.
- Work quickly to roll out and cut remaining dough... if you can. :)


Assembly:
- Into each circle place a teaspoon or a teaspoon and a half of filling (NOT TOO MUCH otherwise they are too difficult to seal)
- Dip your finger in water and slide it along the half the potsticker wrapper as glue. Fold the dough in half, matching the edges.
- Crimp the edges by folding and tucking the edges as you would for a pie crust. (Try to make sure they are fully sealed or they will not cook right-we had a hard time with this).
- Once the potstickers are assembled, there is no reason to cover them with a damp towel.

Chantel and I rolled them out and assembled. Matt jumped in to help too.


Cooking Potstickers:
- Heat 2-4 TBS of vegetable oil in a pan. Add 1/2 cup water.
- Cover and steam the potsitckers for about 10 minutes. The water will boil off.
- Add more oil as needed and pan fry the potstickers until they reach desired crispiness.

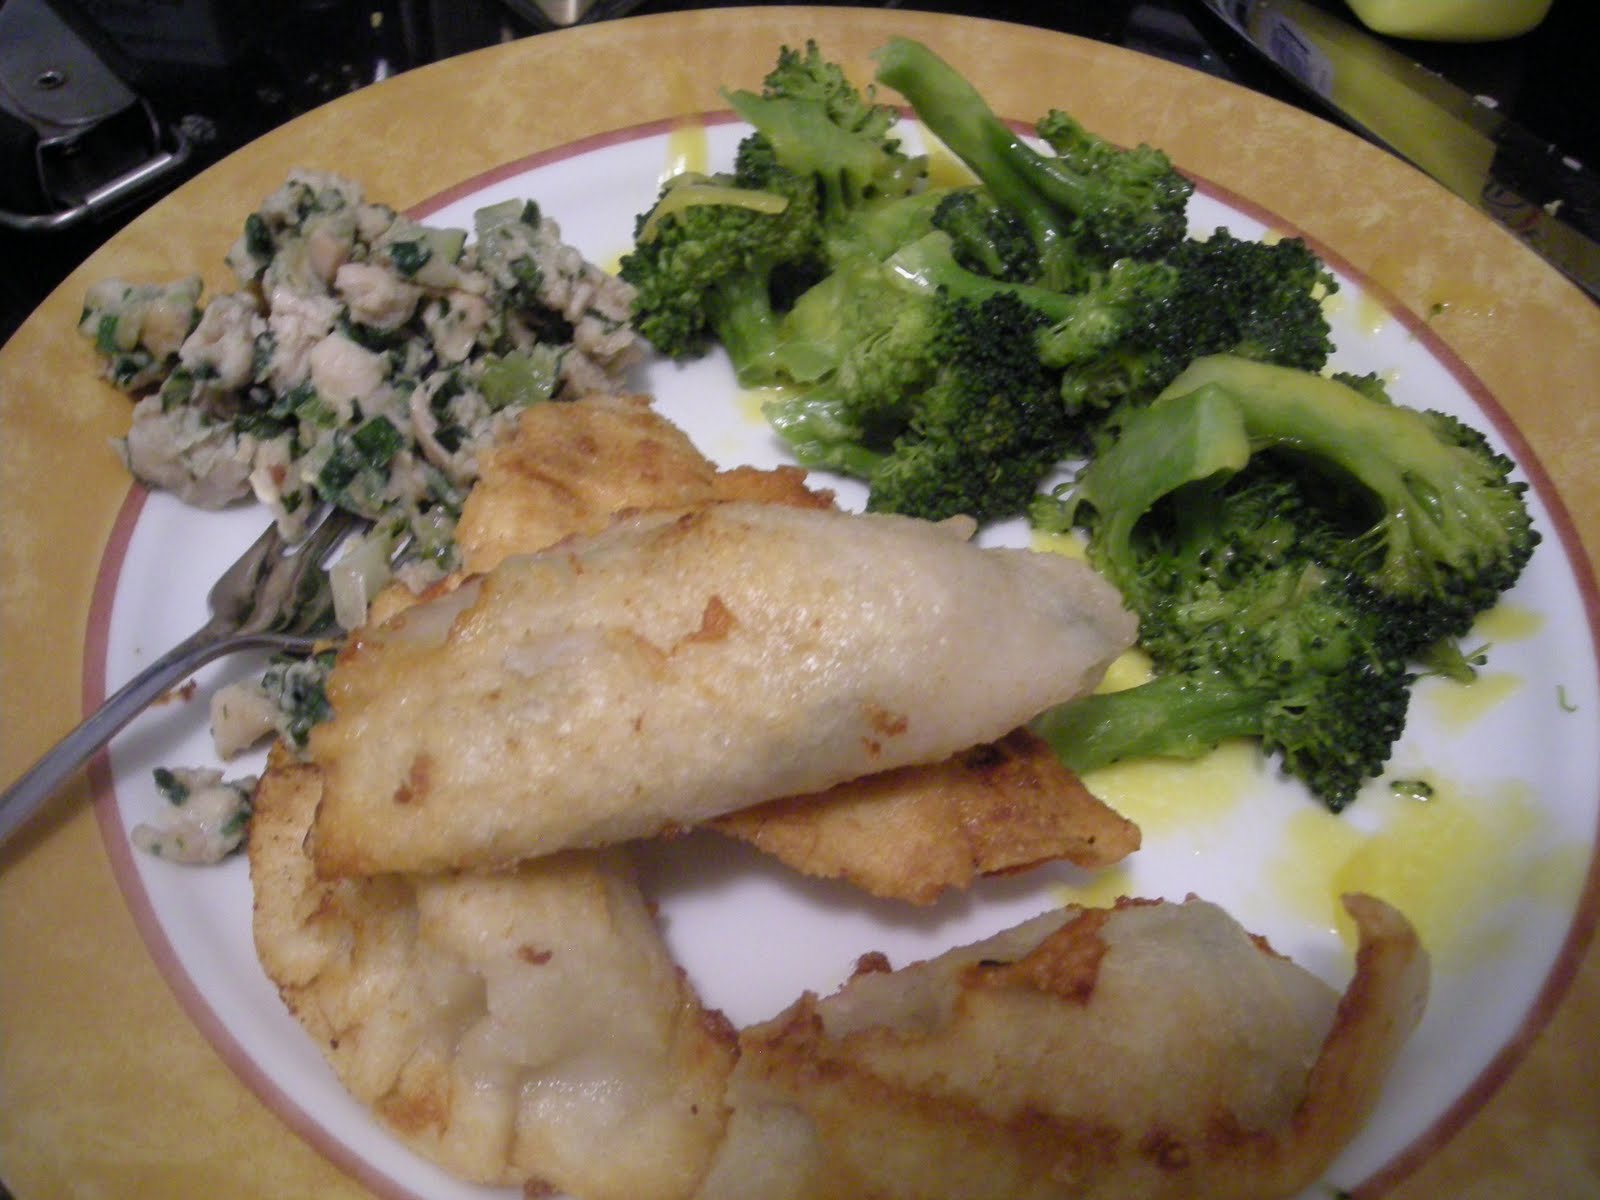
We threw the leftover filling in a pan with more Bragg's sauce.

Ari cooked away!

These guys were a good help too! And just very cute!

Work complete!
What a plate of delicious hard work!
No comments:
Post a Comment